Resize Calculator
Predict a new printing exposure when you scale a darkroom print up or down
Overview
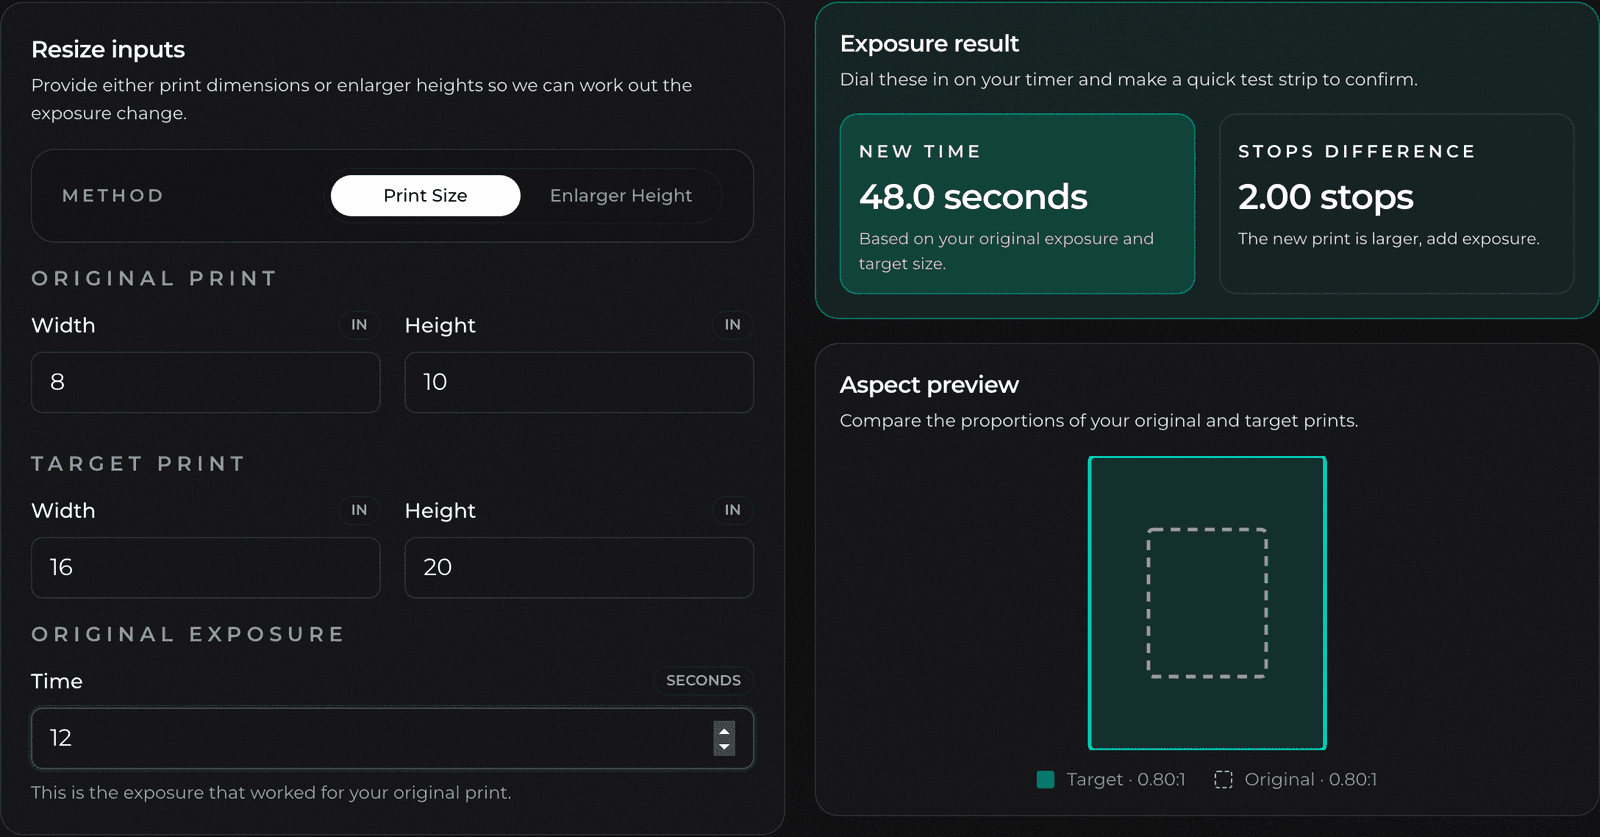
The resize calculator works out a new exposure time when you reprint an image at a different size. When you enlarge a print, the same amount of light has to cover more paper, so each part of the image gets dimmer and needs more time on the timer. Shrink the print and the opposite is true. Instead of burning through paper guessing, you feed in the exposure that already worked and tell the calculator how the size is changing. It returns a starting time and the stops difference so you can dial it in fast.
It relies on the inverse-square law: light intensity falls off with the square of the distance, which means the exposure scales with the area of the print (or with the square of the enlarger height).
Features
- Two ways to calculate the change:
- Print Size: enter old and new print dimensions (faster, good enough for most work)
- Enlarger Height: enter old and new lens-to-paper heights (the most accurate when your column is calibrated)
- New exposure time and the stops difference update live as you type
- Plain-language guidance on whether to add or remove exposure
- An aspect-ratio mismatch warning when your original and target dimensions don't share the same shape
- Works in inches or centimetres, following your global measurement setting
Terminology
- Exposure time: How long the enlarger lamp is on for a single print, in seconds. This is the number you set on your timer.
- Stop: A doubling or halving of light. A change of +1 stop means twice the exposure; -1 stop means half. The stops difference tells you, in darkroom terms, how big the change is.
- Enlarger height: The distance from the enlarger lens (or negative stage) to the paper on the baseboard. Raising the head makes the projected image bigger.
- Aspect ratio: The width-to-height proportion of the print (for example 2:3 for a full-frame 35mm negative). Scaling only works cleanly when the old and new prints share the same ratio.
- Inverse-square law: The physics behind the calculation. Light spread over a surface weakens with the square of the distance it travels.
Basic Usage
- Choose your calculation method: Print Size or Enlarger Height.
- Enter the original print's width and height (or, in enlarger mode, the original height).
- Enter the target print's width and height (or the new enlarger height).
- Enter the original exposure time in seconds, the time that already gave you a good print.
- Read the new time and stops difference in the result card. A positive stops number means a larger print that needs more exposure; a negative number means a smaller print that needs less.
- Set the new time on your timer and make a quick test strip to confirm before committing a full sheet.
Important Notes
Treat every number here as a best-guess starting point rather than a finished print. The math assumes your enlarger output, lens aperture, paper, and developer all stay the same between the two prints. Change any of those and the result drifts. Lens flare, falloff toward the corners on big enlargements, and paper reciprocity at longer times all nudge the real exposure away from the theoretical value.
Always run a test strip when you change print sizes. The calculator gets you close enough that one strip usually nails it, so you spend a sheet confirming instead of several sheets hunting.
Advanced Usage
Print Size Method
This is the default mode and the quickest to use. Enter the dimensions of your original print and the dimensions you want the new print to be. Behind the scenes the calculator compares the two areas and scales the exposure by that ratio.
For example, going from an 8×10" print to a 16×20" print:
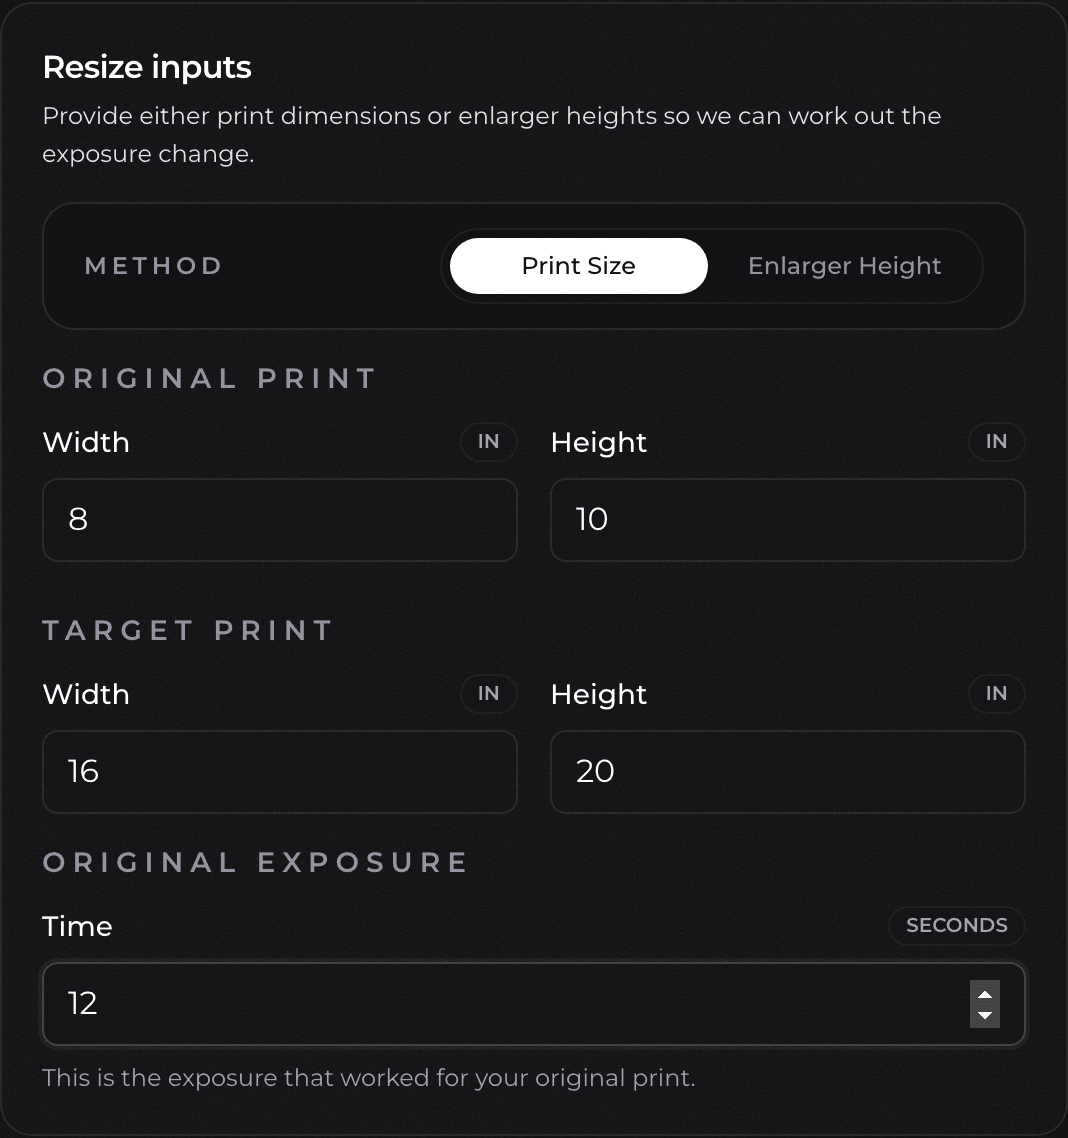
The new print is four times the area (twice as wide and twice as tall), which is exactly two stops more light. Starting from a 12-second exposure, the calculator returns:
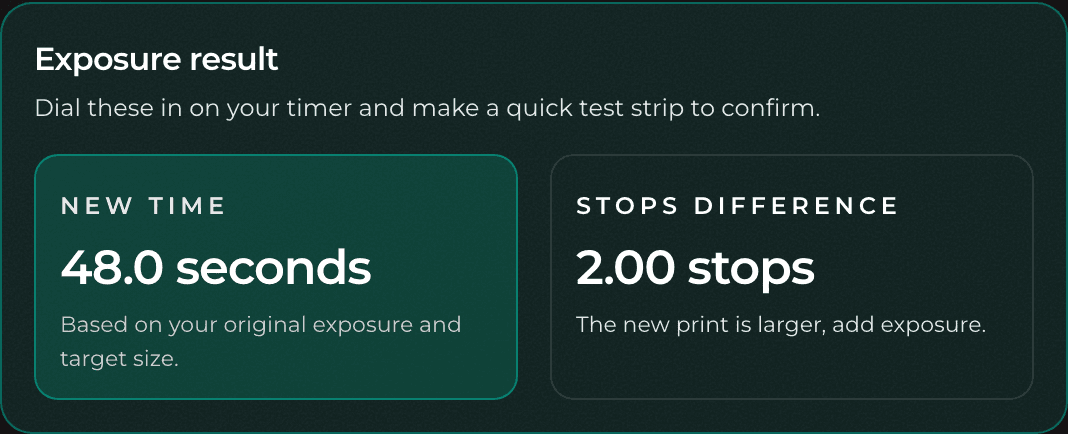
The formula it uses is:
New Time = Original Time × (New Area ÷ Original Area)Enlarger Height Method
Switch the Method toggle to Enlarger Height for the most accurate result, especially on big enlargements where small dimension errors add up. Instead of print dimensions you measure the distance from the lens to the paper for both the original and the new print.
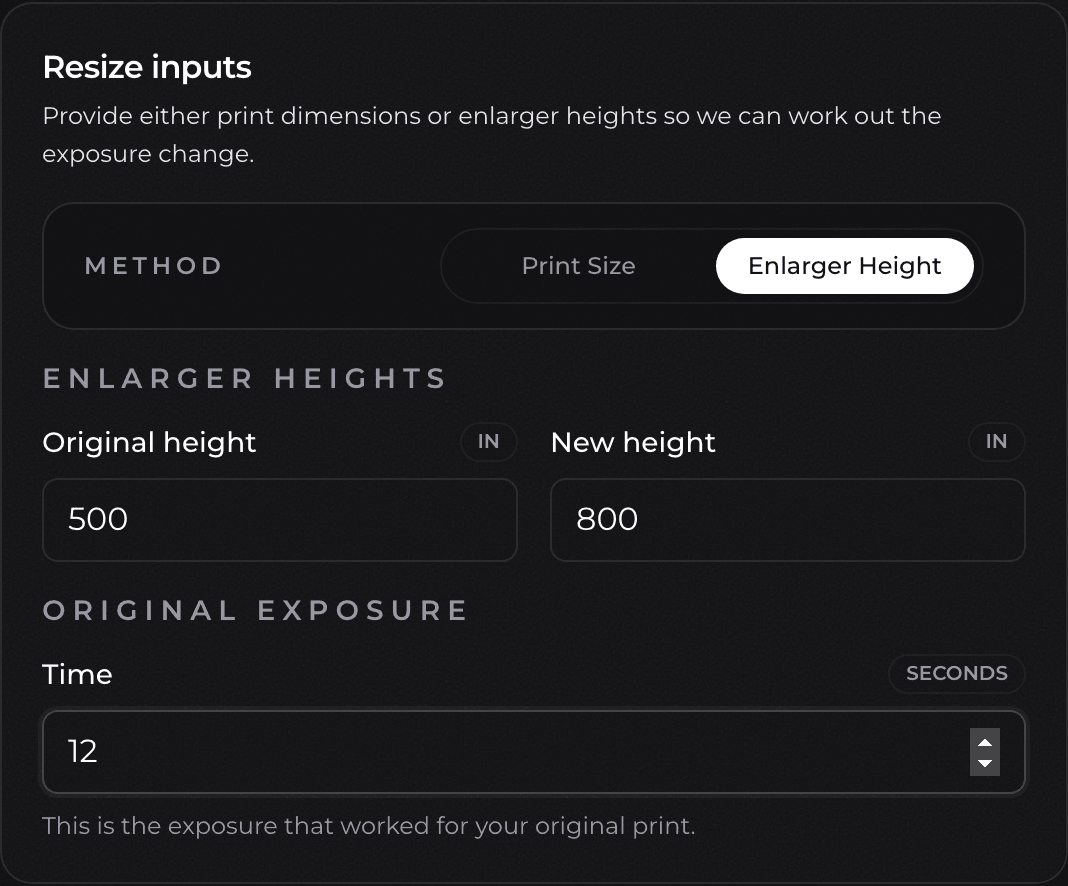
Because exposure scales with the square of the height, raising the head from 500 to 800 (units don't matter as long as both measurements use the same one) and starting from a 12-second exposure gives:
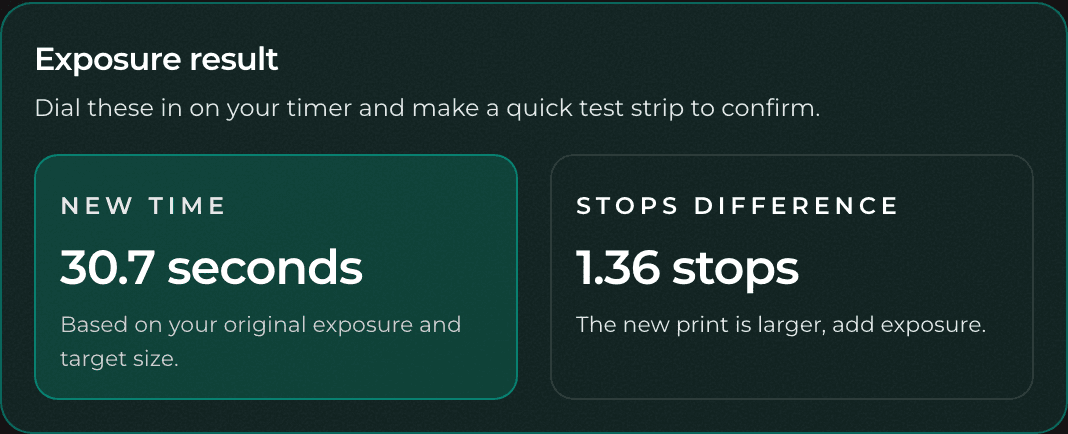
The formula here is:
New Time = Original Time × (New Height)² ÷ (Original Height)²This mode sidesteps aspect-ratio mismatches entirely, since you're only comparing heights, so there's no ratio warning in enlarger mode.
Aspect Ratio Warnings
In Print Size mode the calculator checks whether your original and target prints share the same aspect ratio. If they don't (say you ask for an 8×10" to become a 6×9"), it shows a warning, because cropping changes which part of the negative lands on the paper and the area-based exposure estimate becomes less reliable. Match the target ratio to the original as closely as you can, or switch to Enlarger Height mode, which is not affected.